
Insert or Change an Image in the Content of an Item
This should be considered a secondary image, the first being the main image for the page that you add to your Image tab. For more on this see: Add or Change an Item's Main Image.
To insert an image (or change an existing one) that is further down in your Item's content do the following:
1. From your opened Item, place your cursor where you'd like to insert the image then select the Insert Image button from your Editing Menu. If you're changing an existing image, select the image itself, then select the Insert Image button.
2. From the Image Manager Extended window select an already uploaded image from the files below or select Upload to choose a file from your computer.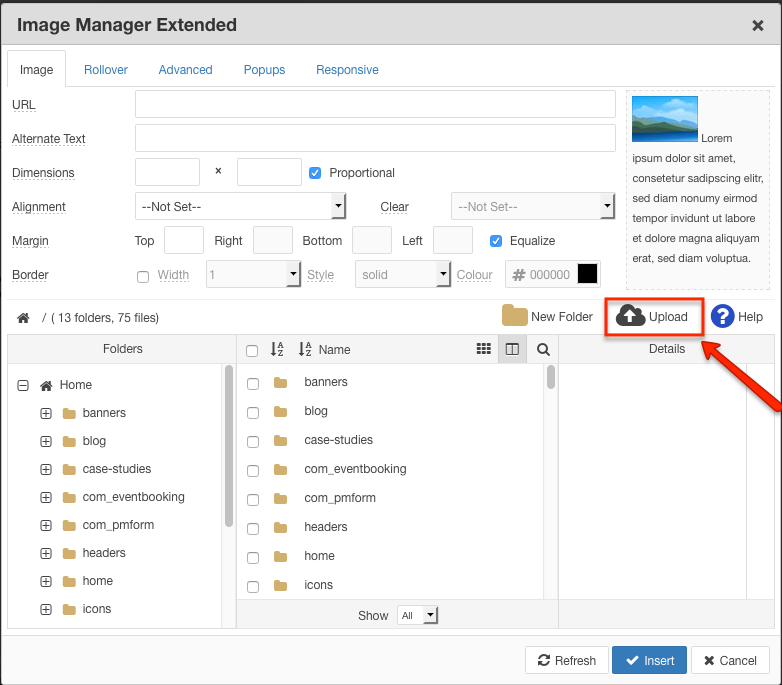
3. From the Upload Window, you can drag a file into the window or use Browse to select from your computer.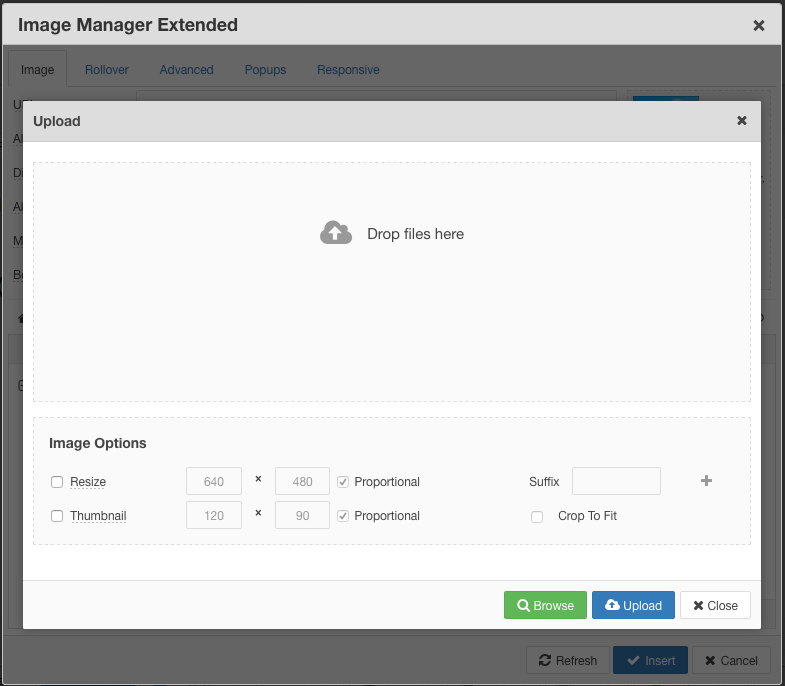
4. Once the file has been added, click on Upload.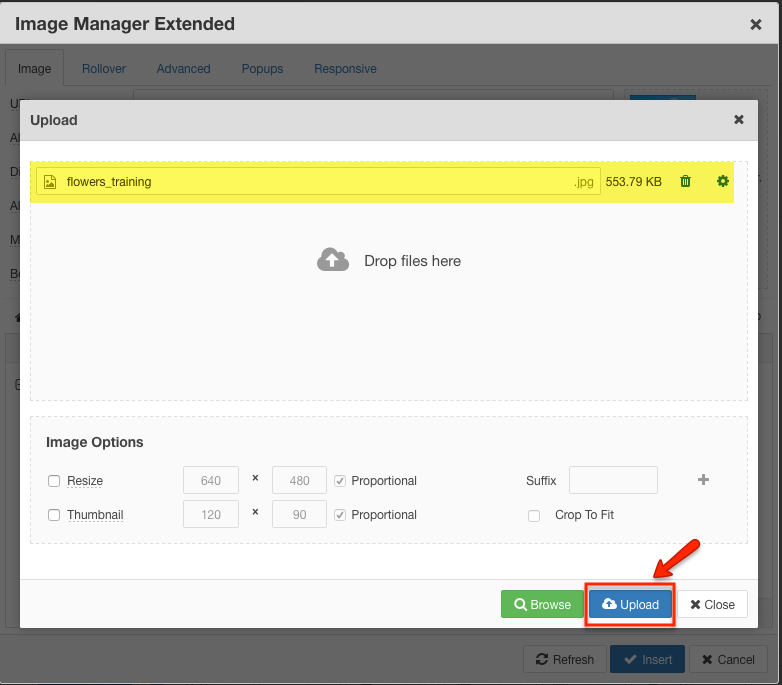
5. Back in the Image Manager Extended window, you will see the image file appear. Click on the file name. Once you've clicked on the file name, it will populate a URL.
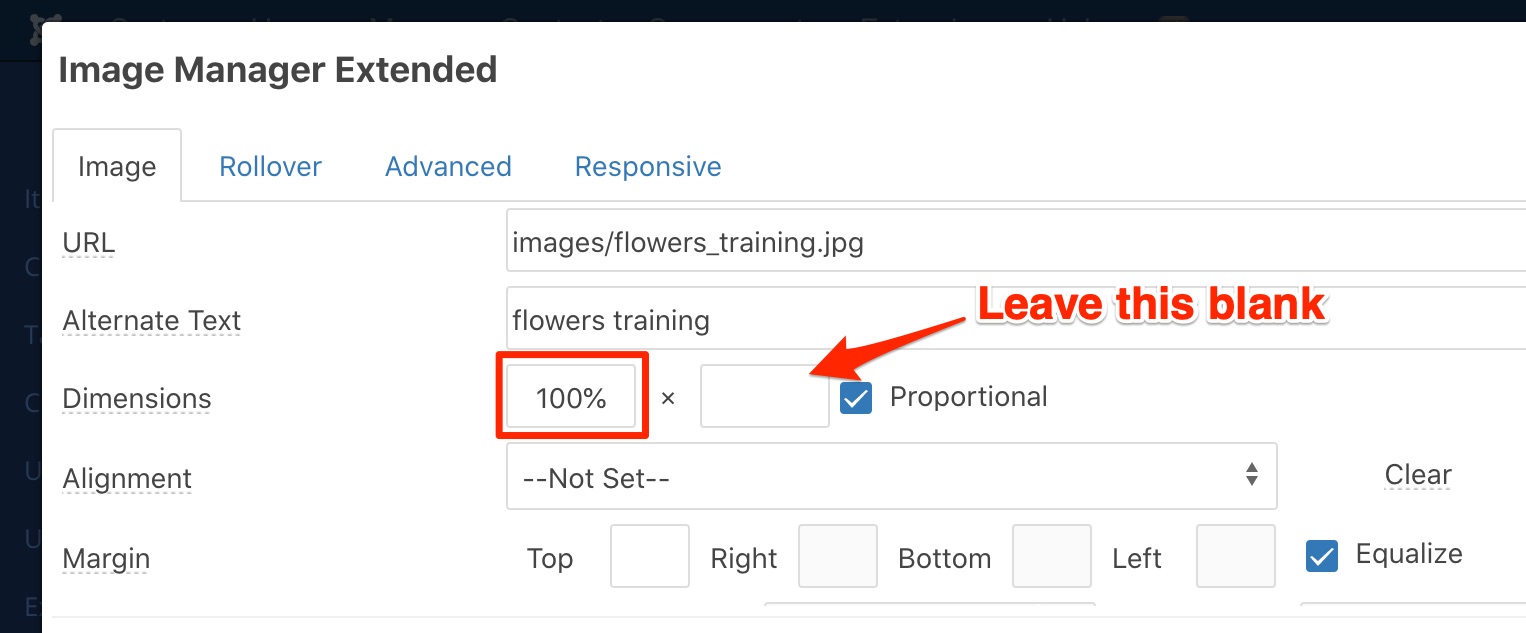
You will then have several options to adjust the size and dimensions of the image.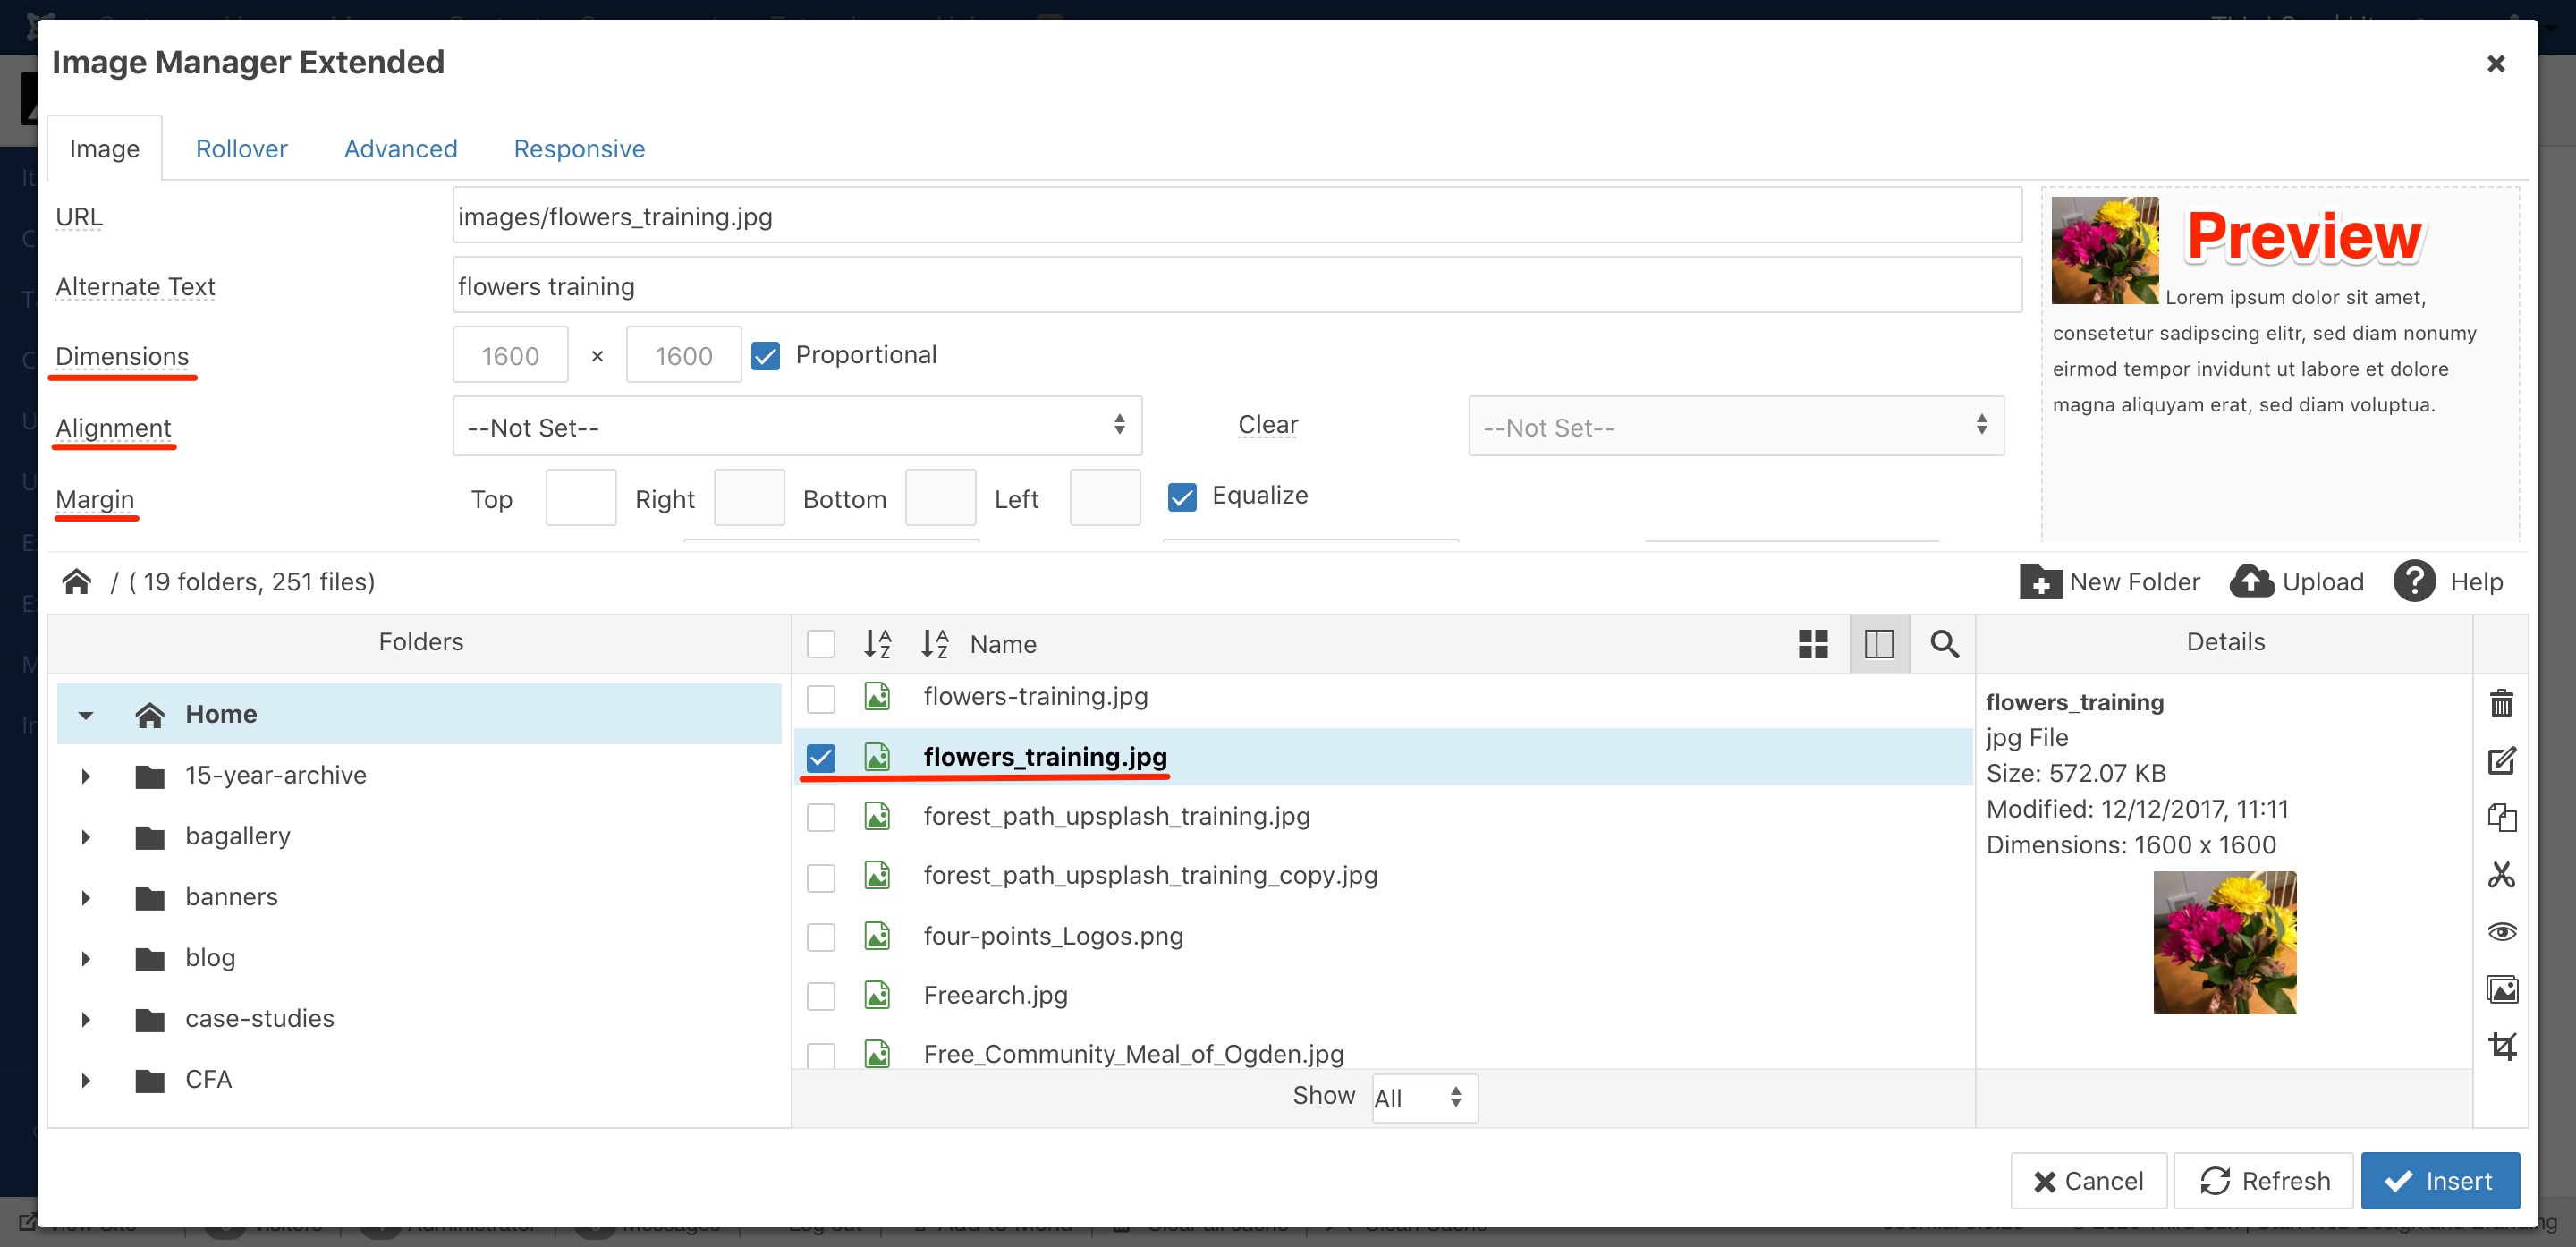
To have the image display at full-width (this is often best these days with mobile phones as long as the photos are not vertical). In Dimensions change the width (first box) to “100%” and delete the height or leave blank, then click Insert at the bottom:
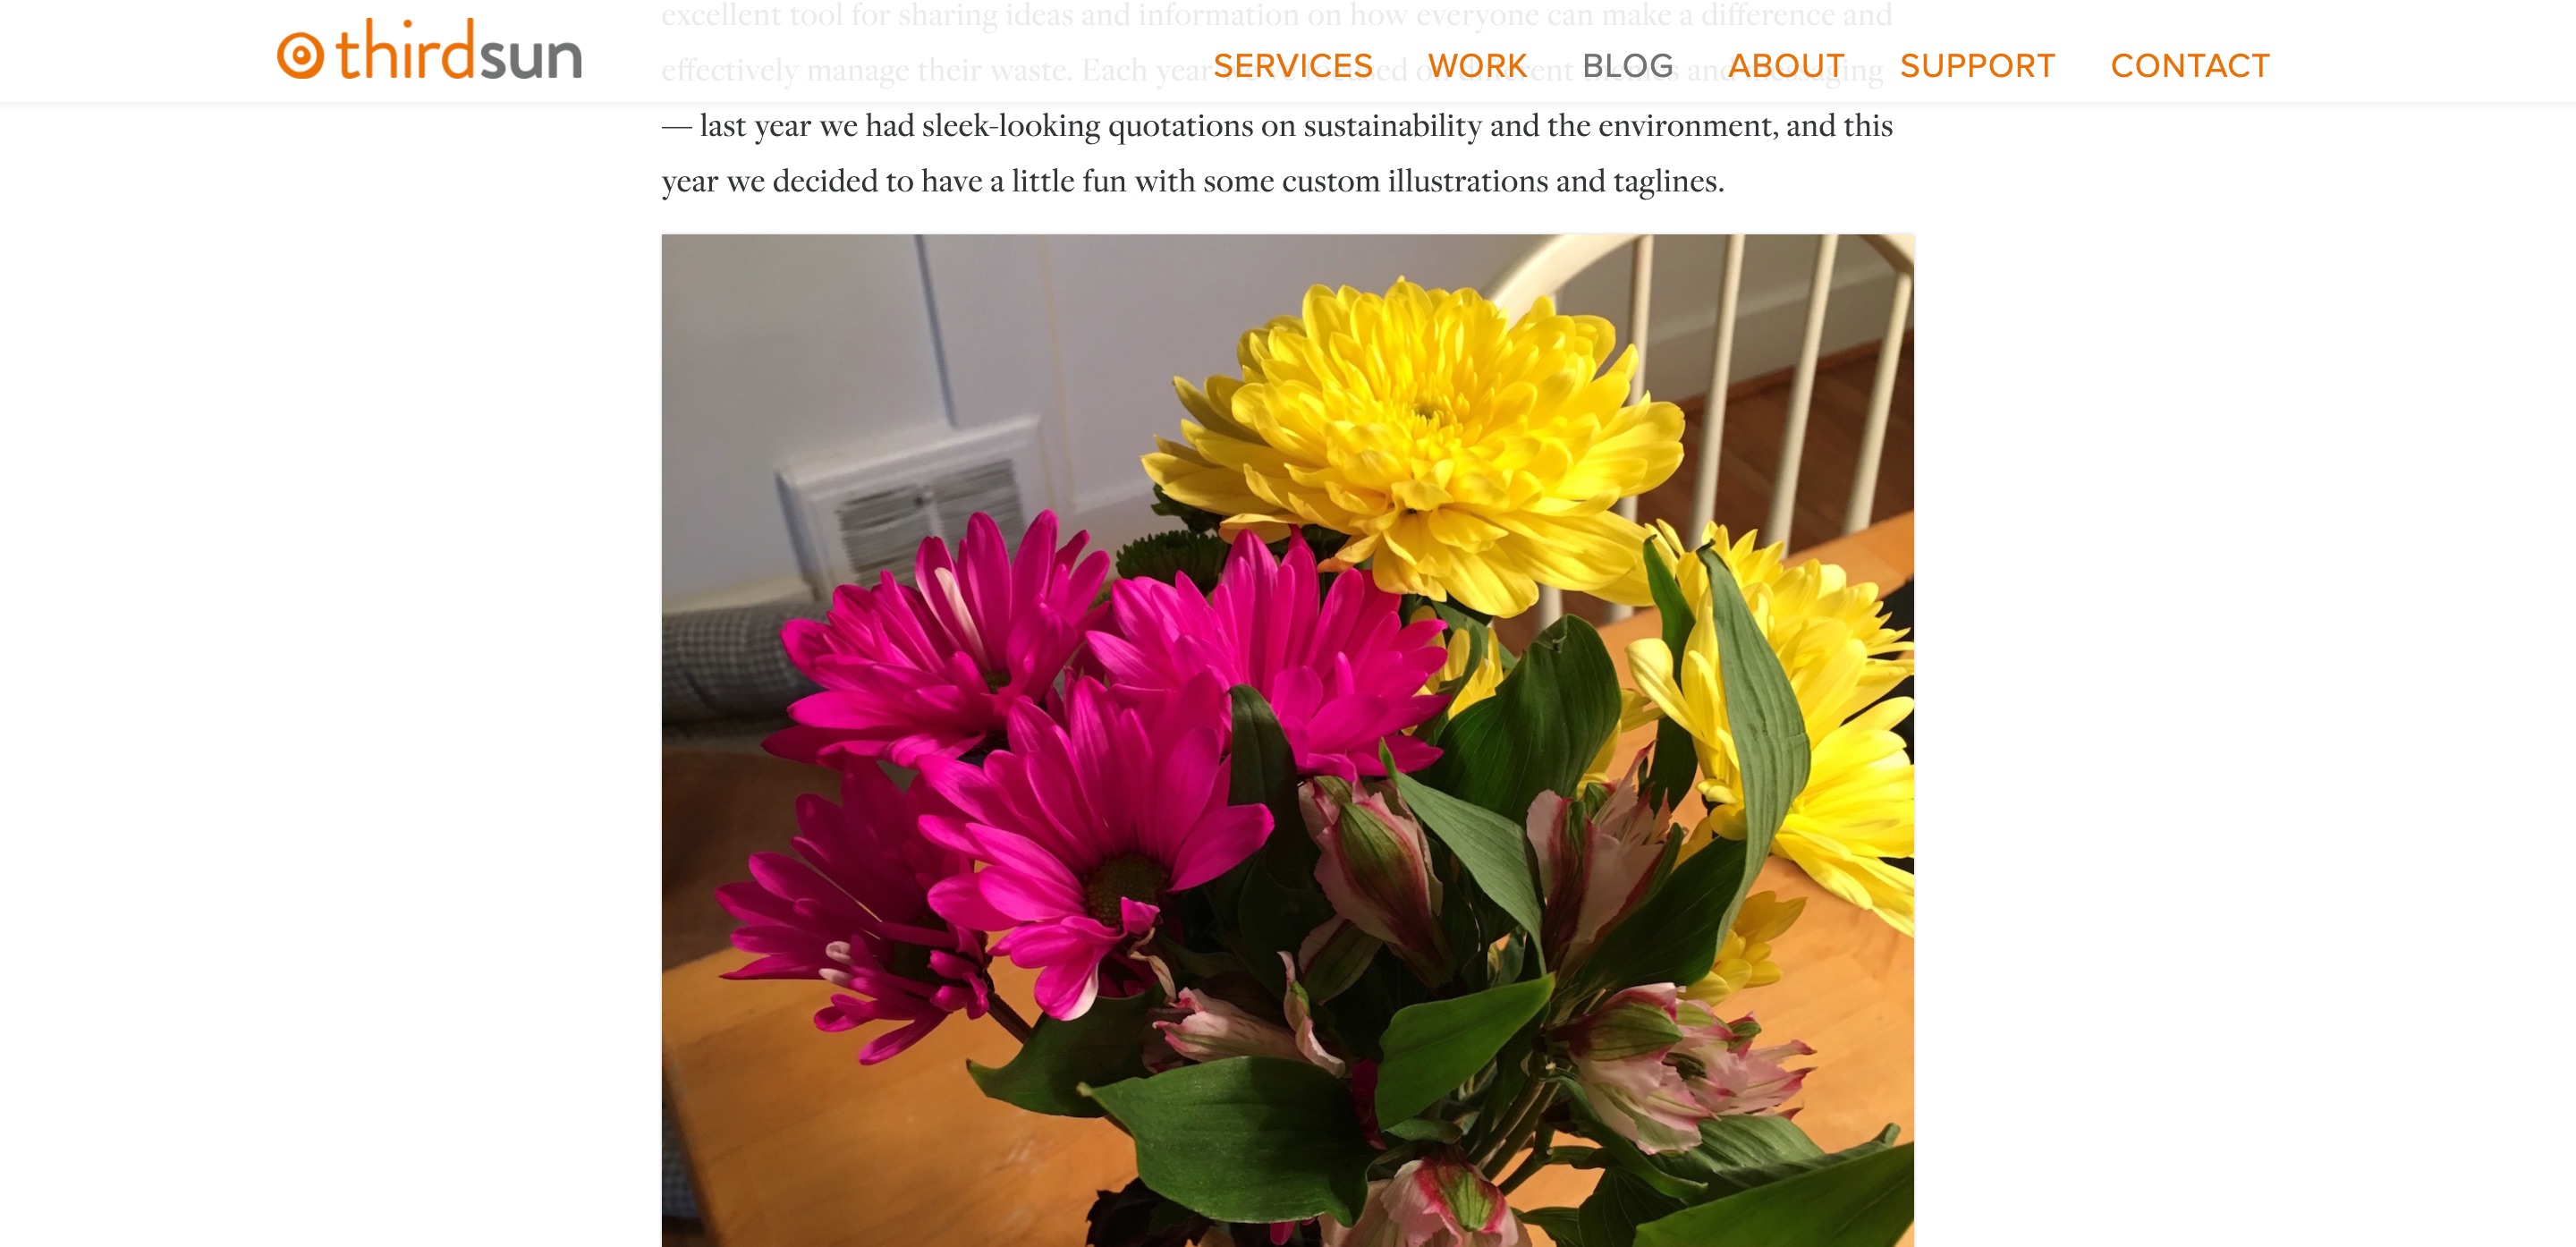
6. Your image will appear in content of your Item. Click Save & Close and review on front end/published version of your website to ensure it appears as you intended.
This is how it will display, at the full-width as the rest of your site content:
*Notes on Editing Images: Editing images can be a struggle for clients but as the website manager, you should try to 1) acquire a photo editing program and 2) understand what kinds of images should be used (and not used). See our Images Section for more info.
#71281 views